..Please Wait..
Time required for this exercise - 15 min
Follow the instructions step by step below. Each step has instructions which is revealed by clicking on the respective step
1. Download Griggi Firmware & Configuration files
Download Griggi Firmware for this router & hardware version
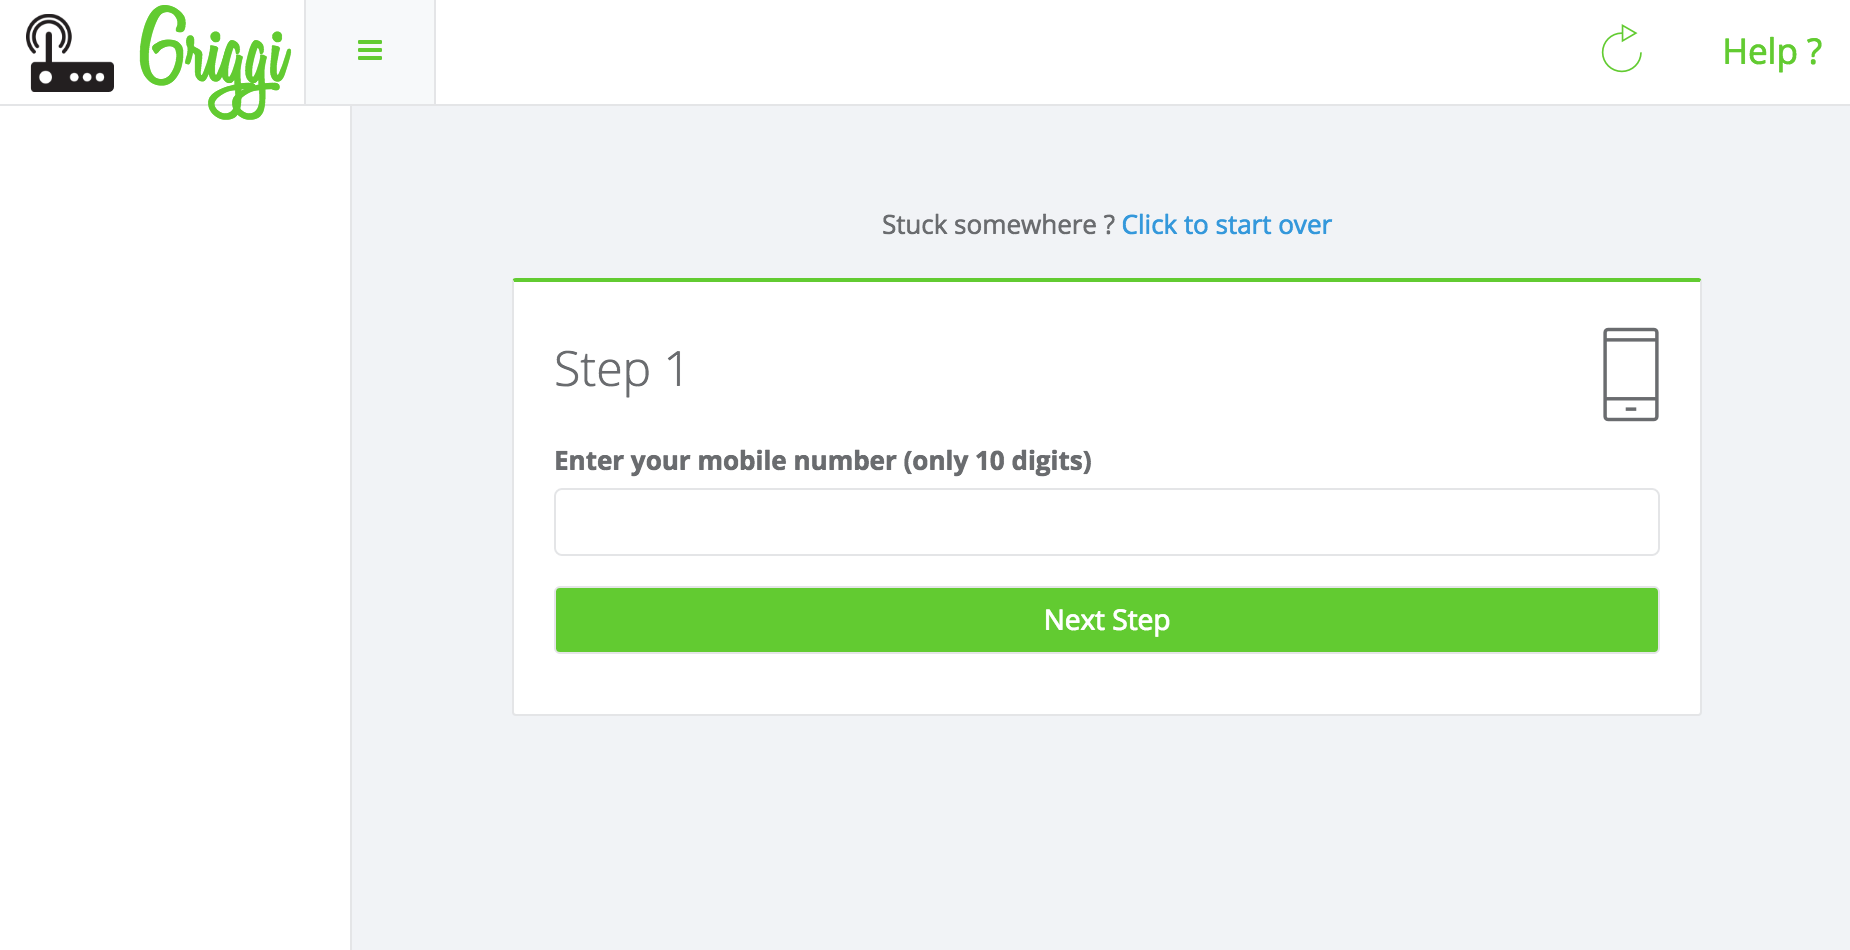
To download Griggi configuration file, you need to login at Griggi with your mobile phone number.
The subsequent step ask you to enter OTP sent to your phone. Post that, you need to specify your email & password for subsequent access.
Completed the steps ? Congrats, you are now successfully registered on Griggi.
Post login, navigate to Setup option in the left sidebar
Click on Add Router. Post adding the router, click on Download Configuration for the router you just created.
Keep both files handy as they will be needed on the next step(s).
2. Login to router dashboard
You need to be in same network as your router.
Access router admin dashboard by typing http://192.168.0.1 on your browser.
Default username password for your router is printed on the sticker at the back of the router.


Post login, the dashboard looks as shown.
3. Install Griggi Firmware on the router
Look for System Tools on left sidebar. Under the option, there is Firmware Upgrade
Click on Browse on the Firmware Upgrade screen, locate the file named .bin that you downloaded in step 1 & press Upgrade
Note Make sure that the power to the router does not go off after pressing upgrade for at least 1 minute, else your router will get bricked (a technical term to indicate a dead router).


If you are seeing image like this, this step is done
The WiFi SSID name is now changed to griggi. It is an open WiFi & you do not need any password to connect to it. You should cross check if the new WiFi SSID is available once the upgrade is successfully completed & router has rebooted.
4. Upload Griggi Configuration to the router
The default WiFi SSID created is named griggi. Locate the new WiFi & connect to it.
Griggi dashboard is located at http://192.168.7.1. Navigate to the url on your browser.
Default user is root & there is no password set. So leave the password field empty & login.

Under System option, navigate to Backup/Flash Firmware option.
Click on 'Choose File' next to Restore Backup, locate config_ downloaded in step 1 & then click on Upload Archive to apply your Griggi configuration on the router.
Post config upload, the router will reboot.
5. Secure your router by setting password
Griggi WiFi is open by default. You should set a password for your admin dashboard to prevent unauthorized changes to your router settings.
Connect to griggi WiFi, access http://192.168.7.1 & set password as instructed on the top of the page.

6. Tweak internet connection settings
If your internet provider has a login page that requires you to login every morning (or whenever there is a substantially long inactivity on your internet), you have a PPPoE internet connection. If this is not the case, you may skip this step.
Login to your router dashboard, navigate to Network - Interfaces - WAN. Set Protocol as PPPoE. Enter the username & password provided by ISP below it.
Once done, click on Save & Apply to apply the changes.

7. Configure Data Sharing
You are all set to connect & test your internet connection.
By default, a login popup comes up on your device when you connect first time to Griggi. If it does not come up, navigate to griggi.com in your device browser & you will automatically get redirected.
Post login, you will see that you do not have quota to use internet. Fret not, you need to first configure data quota at the router before you could start to use the internet.
Expand Griggi on the left sidebar to reveal a Configure option hidden under it. You should be able to configure billing cycle & FUP limit on the page.
Come back to Status option & you would see that you have got data in your quota. The internet should start to work now for you. You can test the same by opening any other site on a new tab in your device browser.
You can go ahead & Give Data to others who eventually be able to use the internet at your location.
If your router supports Openwrt, you could still run Griggi.
Or you could just buy a Griggi pre-installed router (starting range Rs 1000) to save all this hassle.