You might have devices like printer, CCTV camera, access control device or any other IoT that need communicating with internet but does not have a way to load up the login page. These devices need whitelisting in Griggi router for their internet to work
Griggi does not block any internal traffic. Some network printer need an internet connection else their setup does not complete & they are unable to serve print commands. Hence you need this step.
Such devices need explicit by-passing. You need the mac-address of such devices & follow the steps below
-
ssh into Griggi router -
ssh root@192.168.7.1. On password prompt, enter the router admin password that you had set in Step 3. -
Open file
/etc/wifidog.confinvieditor as that is the only editor installed in Griggi router by default. -
Search for
TrustedMACListin the file. The line is commented out with a leading ‘#’. Comment it back in & enter the comma separated mac address of devices that you need whitelisting.
#TrustedMACList xx:xx:xx:xx:xx:xx,yy:yy:yy:yy:yy:yy
Please note, once you whitelist the device, Griggi will not do data accounting for it. So exercise this option with care.
Once done, reboot the router for the change to take effect. To test, go to the device whose mac-address is added & check if it could connect to internet.
Access internal server or CCTV camera from outside
You might have an internal server that need to be accessed from outside your setup. This applies to CCTV camera as well where you need to access camera from outside.
1. Setup private IP
For it to work, you first need to assign a static private IP to the devices based on their mac address & then do a port forward to the specified IP address.
Get mac addresses of all the devices & provide static ip by creating a file /etc/ethers in the router. The file content should look like below
# ecce - Dell Vostro 200 ST
xx:xx:xx:xx:xx:xx 192.168.7.2

# cadwal - Compaq Presario SR1505LA
xx:xx:xx:xx:xx:xx 192.168.7.3

# throy - Acer Aspire 4320
xx:xx:xx:xx:xx:xx 192.168.7.4
Note xx:xx:xx:xx:xx is the mac address of the devices. Ensure the IP is in 192.168.7.x subnet only.
Once the above setting is done, reboot the router. Check if the setting is working as the device should get the IP address specified for it in the /etc/ethers file
2. Forward external port to your device port
You need to make your server/CCTV accessible from outside. You need to create a port forward rule for Griggi router port to forward connection to your device (internal) IP & the port on which it listens for connection.
Eg - if you assign a private IP 192.168.7.2 to CCTV camera & your CCTV camera is accessible at port 8080, then you need to setup port forward on the router for router IP port 80 to 192.168.7.2 8080
Follow the steps at https://wiki.openwrt.org/doc/howto/port.forwarding. You need to add the block specified below in /etc/config/firewall file
config 'redirect'
        option 'name' 'any name here'
        option 'src' 'wan'
        option 'proto' 'tcp' #this is comment - mostly the protocol is going to be tcp
        option 'src_dport' '80' #outside port
        option 'dest_ip' '192.168.7.2' #private ip
        option 'dest_port' '8080' #inside port
        option 'target' 'DNAT'
        option 'dest' 'lan'
Restart router. To test if the above setup worked, try accessing http://your router public ip:80 from outside & you should see the server page. From outside, it means you should not be connected to Griggi WiFi / internal network. Switch over to 3G on your phone & then try accessing the url.
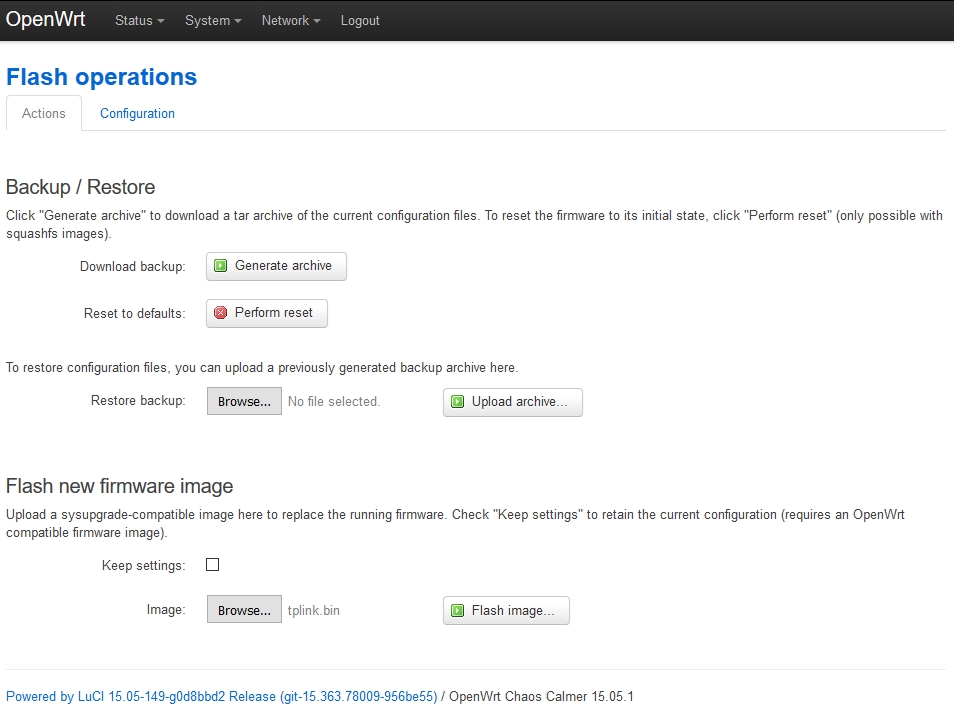
Once all this is working, keep a copy of your settings at System -> Backup/Flash Firmware . Use the option Download Backup . If you ended up resetting your router, you could revert back to your settings by loading the backup file in one go.